As a country, we’ve made tremendous progress over the last couple decades with respect to sending paper to be recycled, not landfilled. Even better than recycling is reuse. This page shows how to make shipping mailers from paper grocery bags, one way that paper bags can be reused prior to being recycled.
Directions for making two 8″x7″ mailers from one standard paper grocery bag are below. Working through this procedure for first couple times might require some time and effort but once this process becomes routine, it takes about five minutes to turn half of a paper grocery bag into a shipping envelope. If you’ve got kids, imagine how fun it could be for friends and relatives to be on the receiving end of handmade mailers with kid art accents. Feedback is welcome and we can always be reached through our contact page.
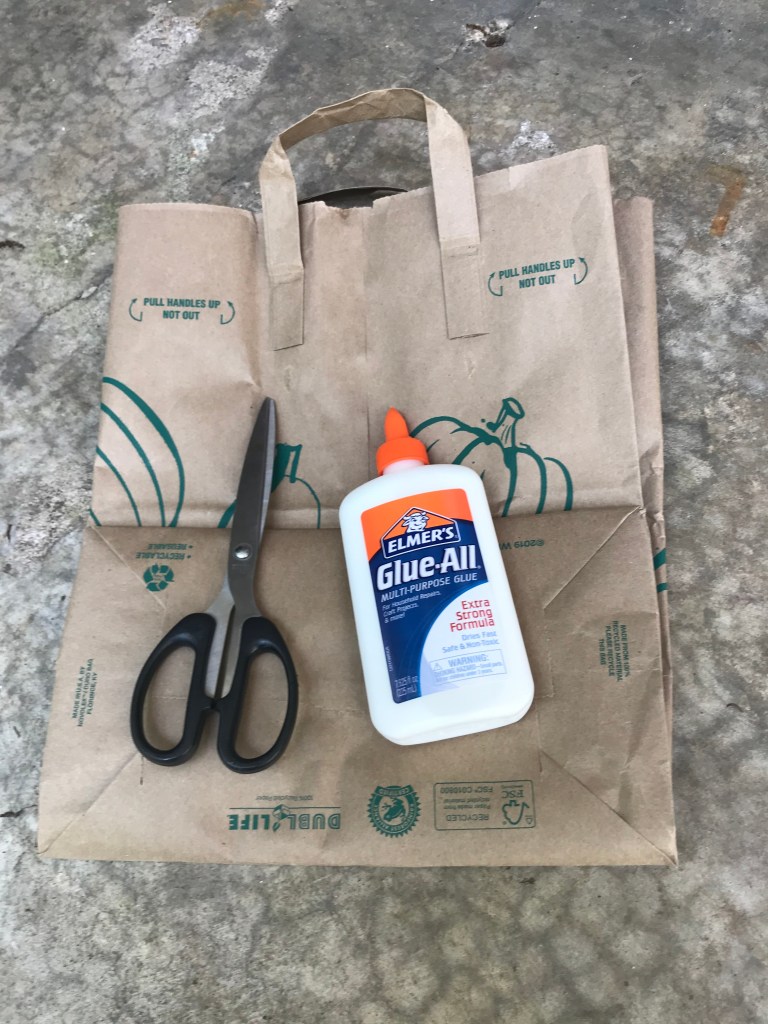
Supplies
The only supplies needed are a paper bag, glue and scissors. Nothing fancy, nothing expensive, nothing toxic and making mailers from paper grocery bags is a possible craft idea for kids 8+. Younger kids might be interested in coloring or painting either the bags or the finished mailers.

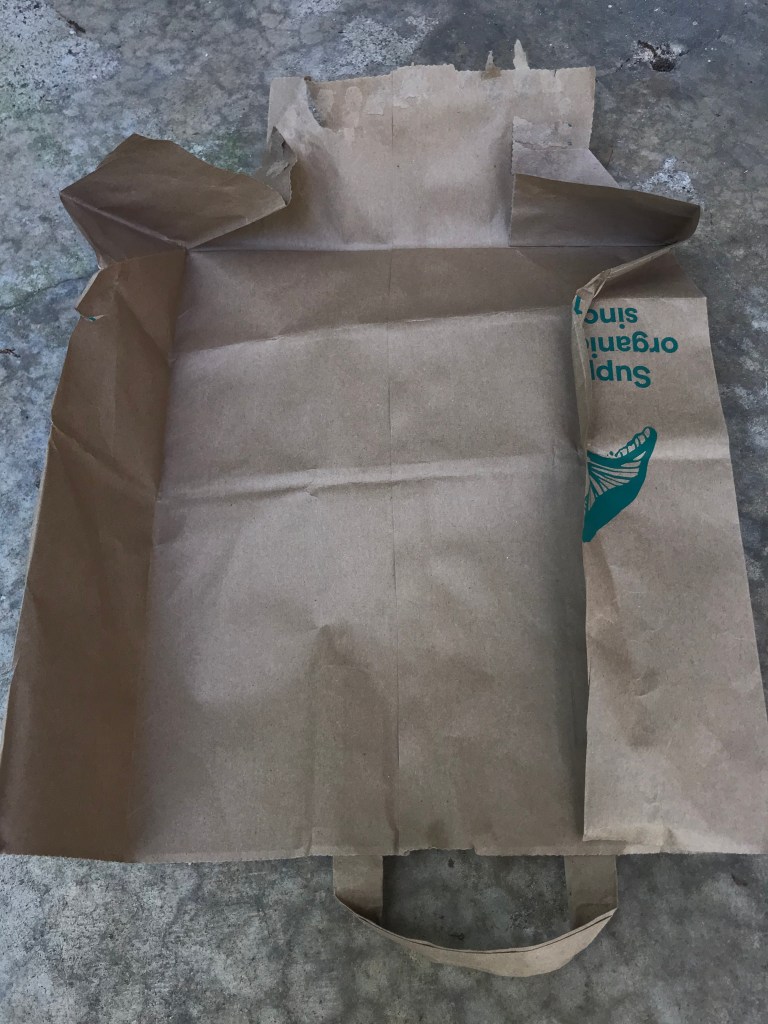
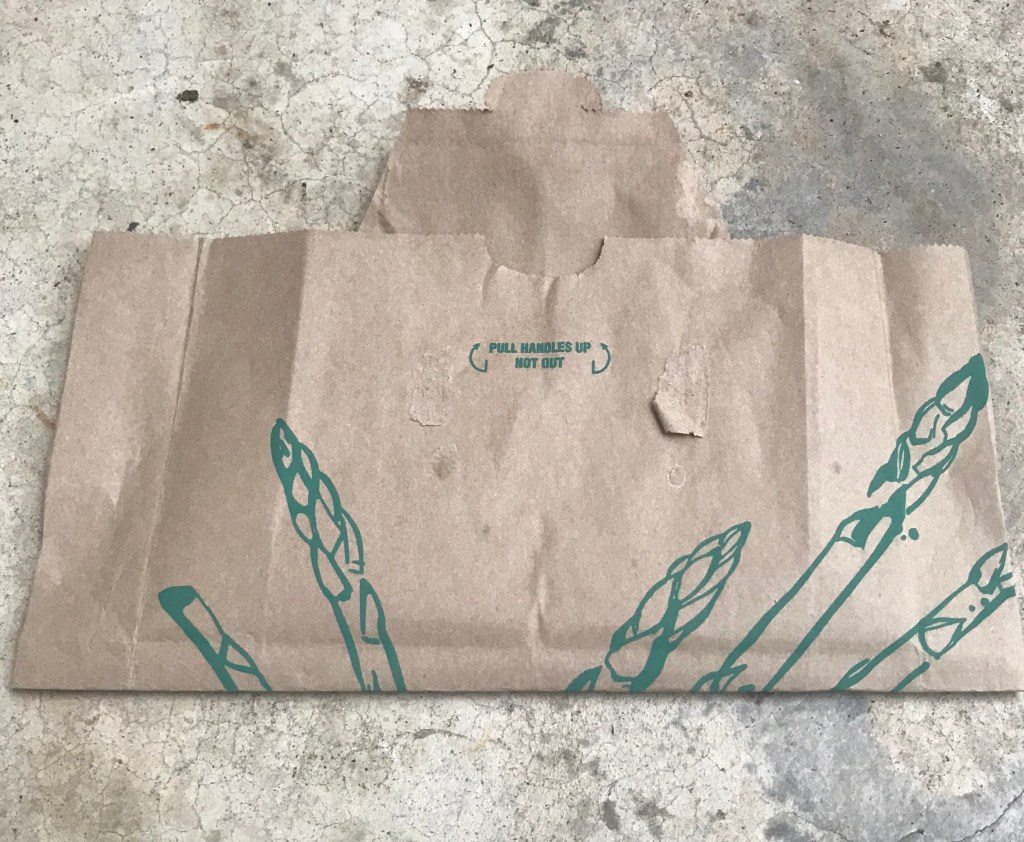
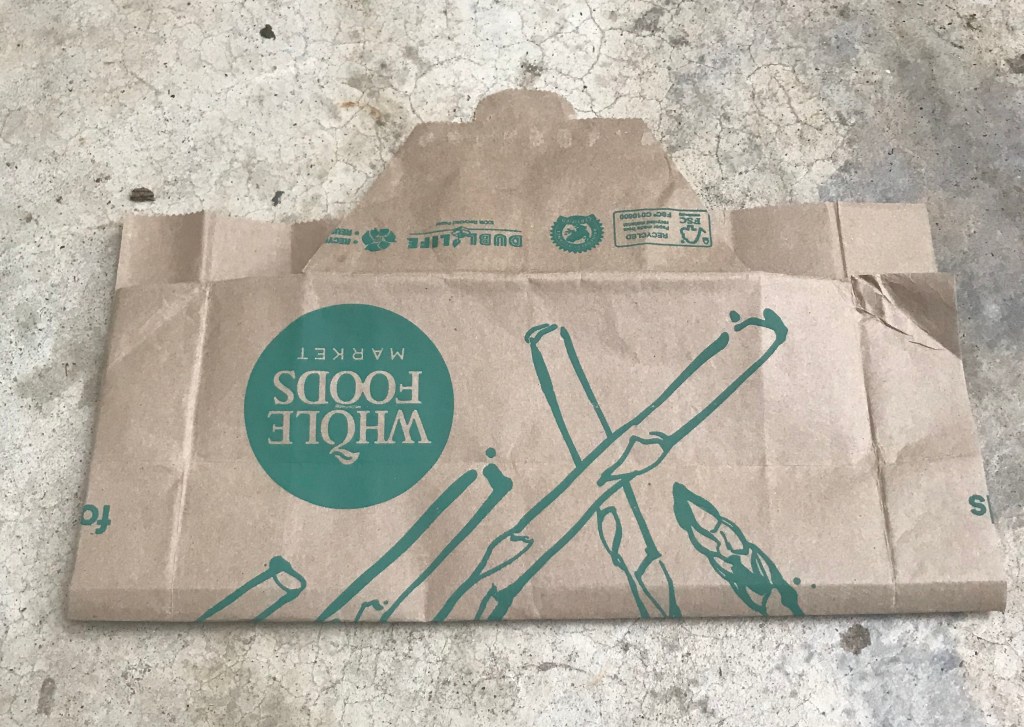
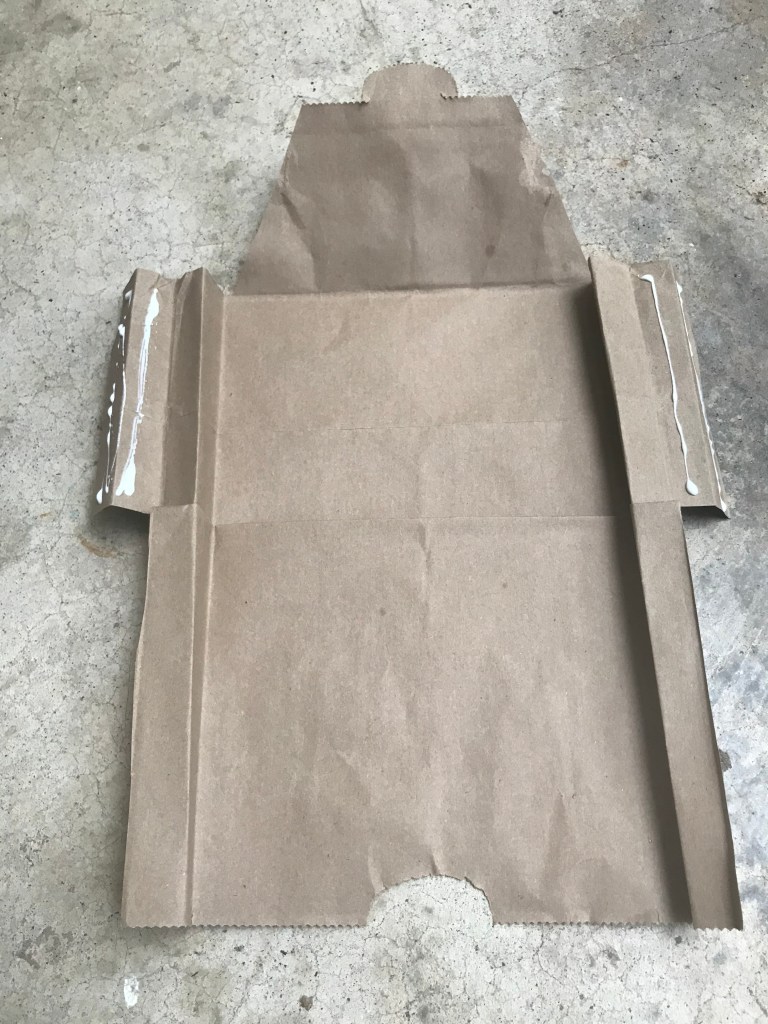
Start by gently pulling apart the glued-together flaps on the bottom of the bag, ripping the paper as little as possible (left). Then, cut the bag in half by cutting all the way down the center of each of the narrow sides of the bag (right). Remove the bag handle if applicable.
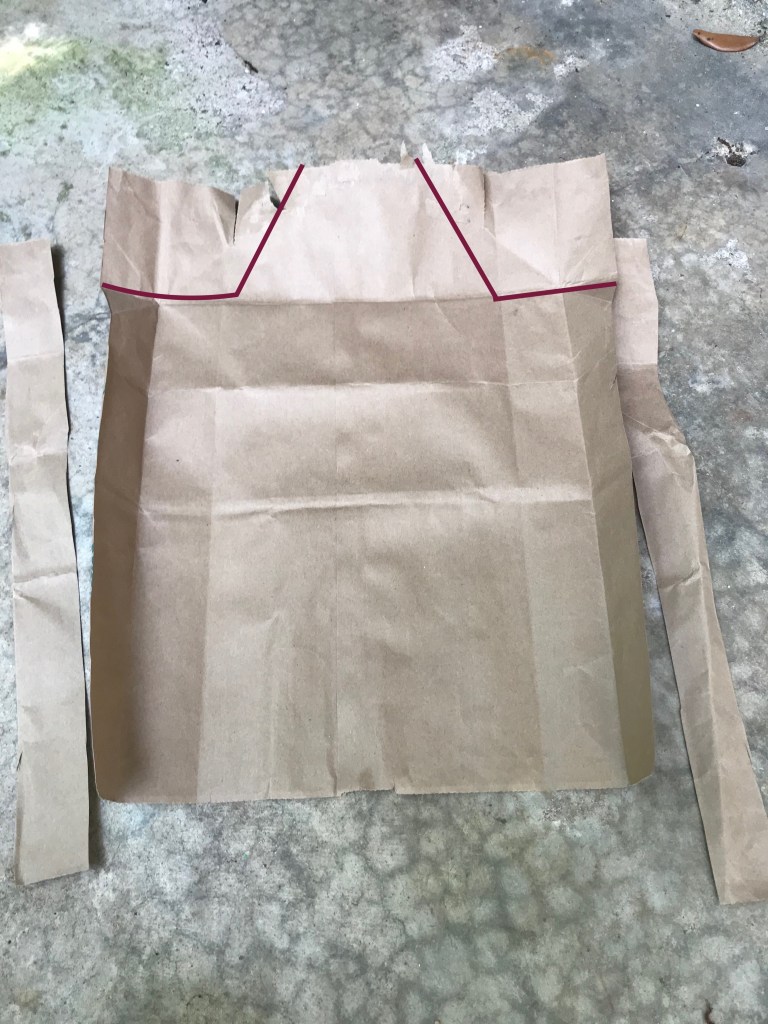
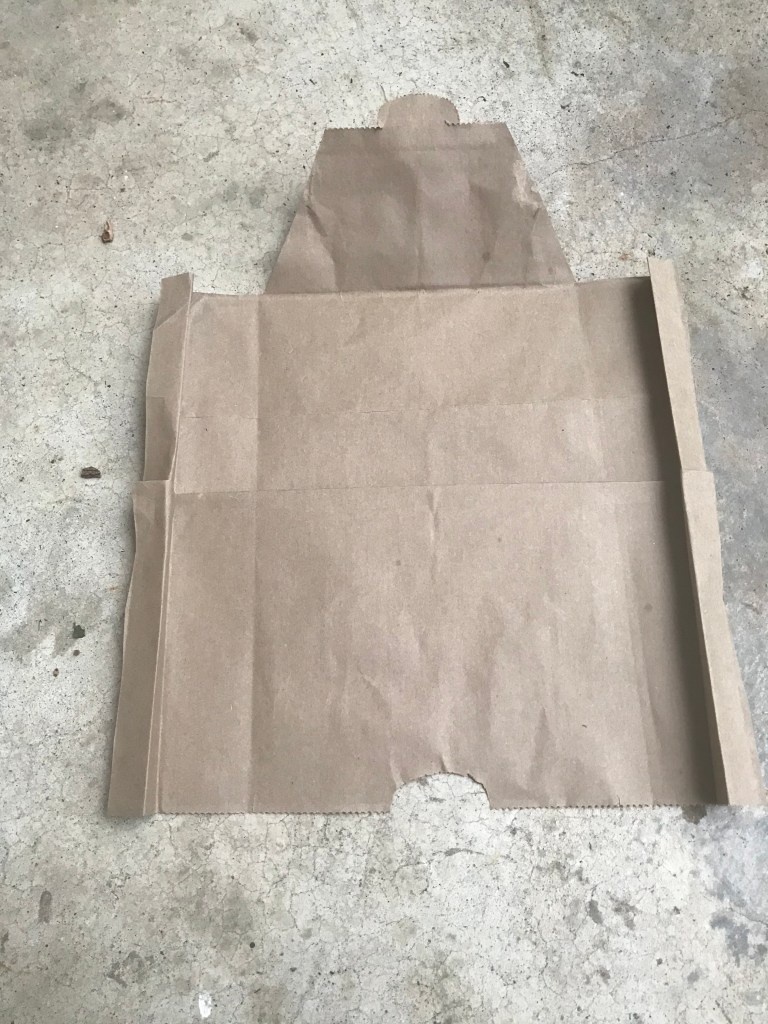
Get the scissors and on both long sides, cut away half of what was formerly the narrow side of the bag. It’s easier to do this if you fold the flap of what used to be the narrow side of the bag in half, open that fold back up and then cut along the fold.

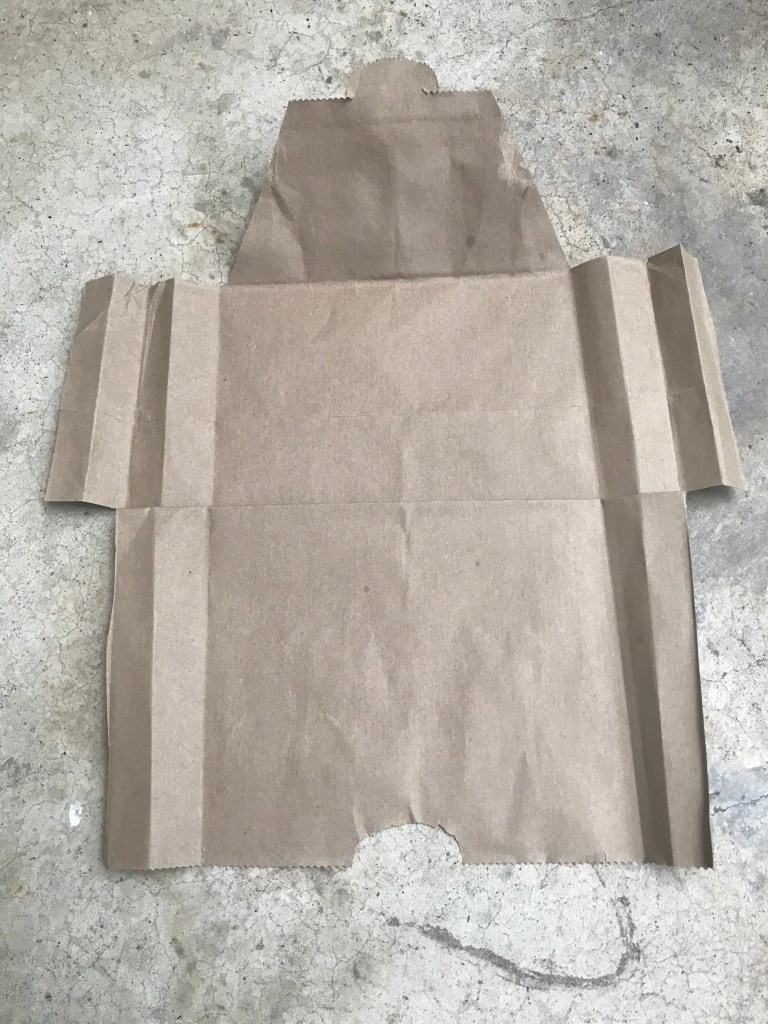
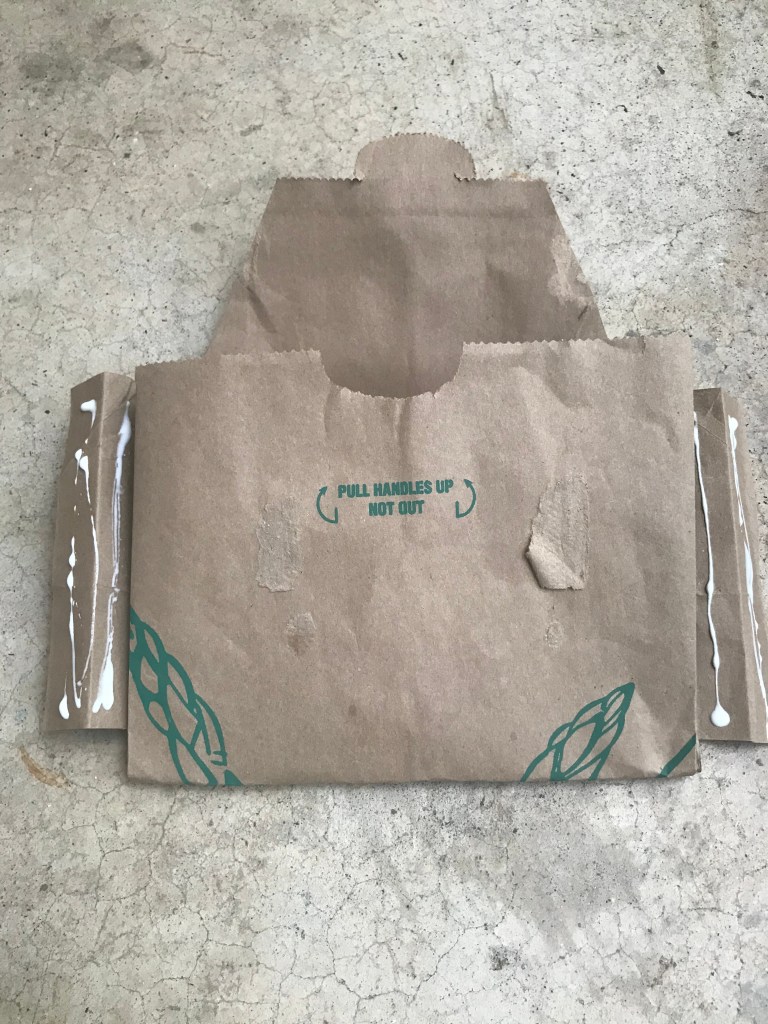
Next cut away part of what used to be the bottom of the bag to leave only what will become the top mailer flap; the red lines to the right show where to cut. Start angling the cut upwards at a distance of twice the width of the remaining edge flap. It may help to fold the remaining edge flap over once before cutting to see where to begin creating the top mailer flap.

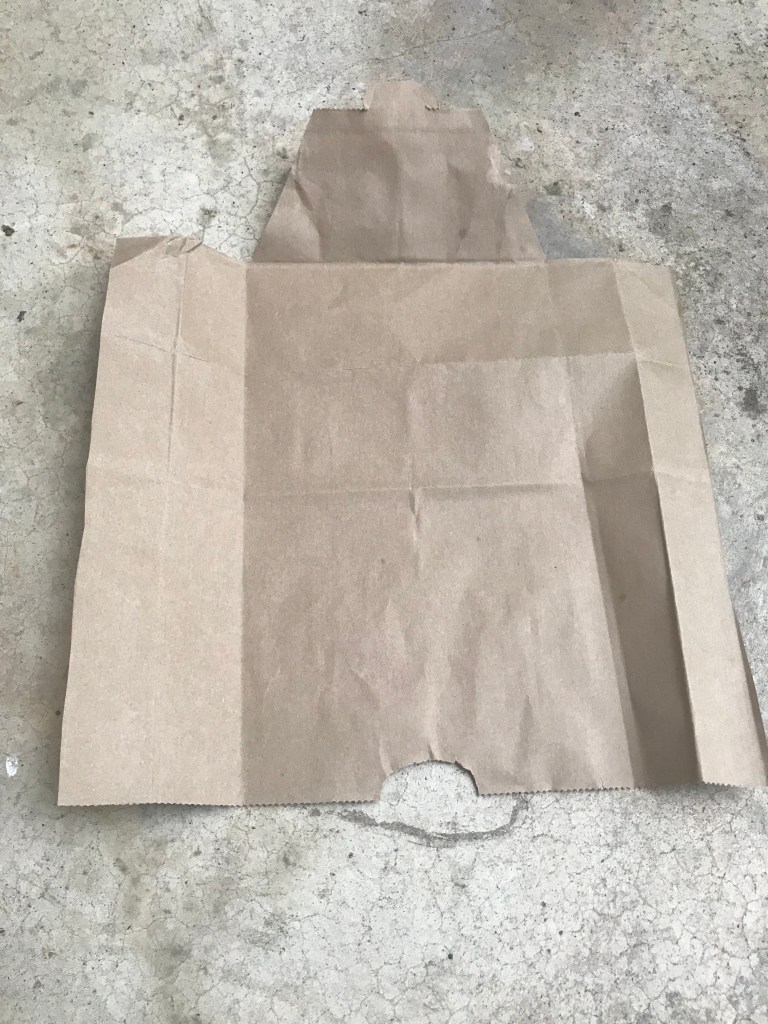
The expandable fold that will end up on the bottom of the mailer is built next. Fold the bag beyond in half – fold it so that the edge away from the mailer top flap covers the mailer top flap by about 1″ after folding.
The side of the bag that is on the inside after this folding will be the side of the bag that ends up on the inside of the mailer. If your bag is printed or covered with artwork, this is the time to choose whether the prints or artwork end up on the outside or inside of the mailer being created.
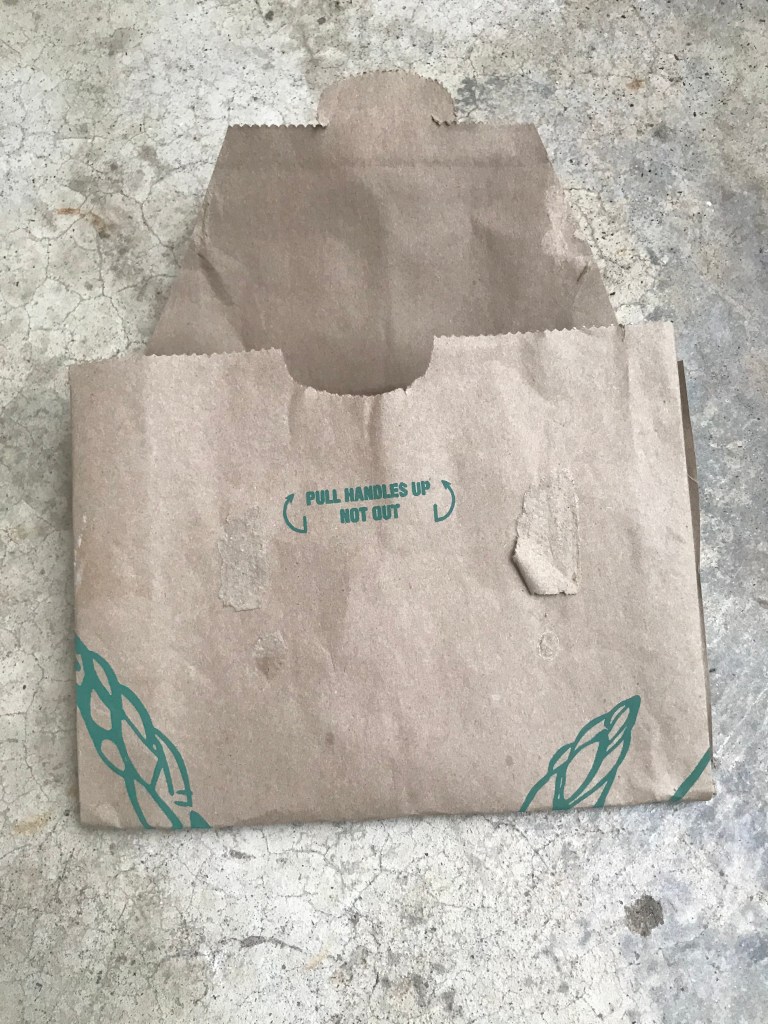
This next step adds an additional fold. It looks like an unfolding step but the bag section folded up in the last step is only mostly unfolded. An additional lengthwise fold is added along the line that divides the bulk of the rectangular bag section precisely in half. This fold adds a tuck behind and below the visible fold in the picture to the right. A side view of this tuck is shown below.


Now fold the sides in towards the center accordion-style as shown here. The width of each folded section should be half the distance between of the vertical side fold lines. Open the side flaps back up after these folds have been made.

And now get the scissors back out to make the final cut.
Cut off the lower half of the side flap. Note that the section cut off extends up past the bag section center to just above the lengthwise fold closest to the mailer top flap. A portion of the lengthwise tuck is cut off as a result of this step.
Once this cutting step is complete, set the scissors aside and get ready to glue.
Put glue on the outer accordion fold / edge flap as shown below. Then create the mailer pouch by folding the edge of the bag away from the mailer top flap up to meet and be even with the edge of the bag to which the mailer to flap is attached. This add a third lengthwise fold.
Note that the glued edge flaps do not extend all the way to what will be the newly added bottom lengthwise mailer fold. This makes the final step of tucking the glued side of each edge flap against the accordion folds of the side of the mailer just folded upwards a little easier.
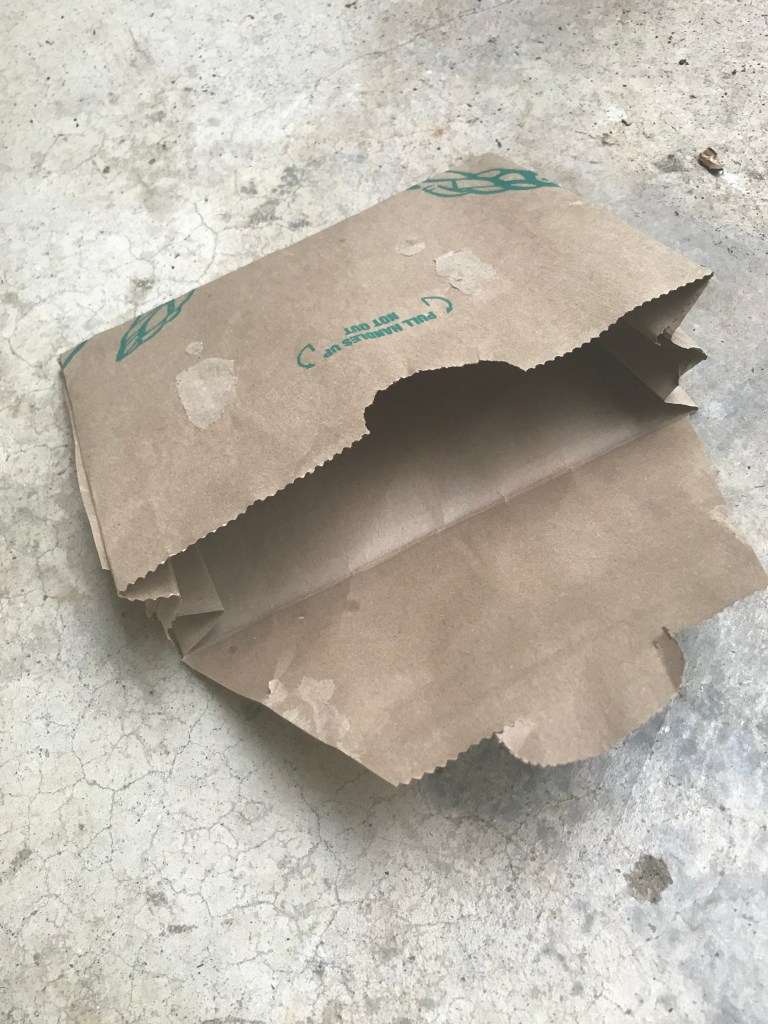
The newly-created mailer is ready for use when the glue is dry! Letting the mailer dry overnight under light pressure is helpful. This example makes an 8″ x 7″ mailer from a standard paper grocery bag but the approach can be modified to make mailers of different sizes.
As part of our commitment to phase in reused shipping material when pragmatic, Black Squirrel Farms now ships our smallest single-item orders in mailers made from reclaimed grocery bags.
